
Based on a similar lesson done in class, we started a second simple html document. We talked conceptually about this idea of making the code relatable and also the importance of being able to read our code, tag by tag, attribute by attribute. Making mistakes along the way is very common. It is in the catching and correcting of those issues that we indeed improve our ability to write code.
Step 01: We established the foundation html tags
Step 02: We added a divider tag to give us just a little more control of our content
Step 03: We added some text and an image (from the homework assignment)
Step 04: We added some of the usual attributes to set basic colors, font, margin and padding space, image size and alignment.
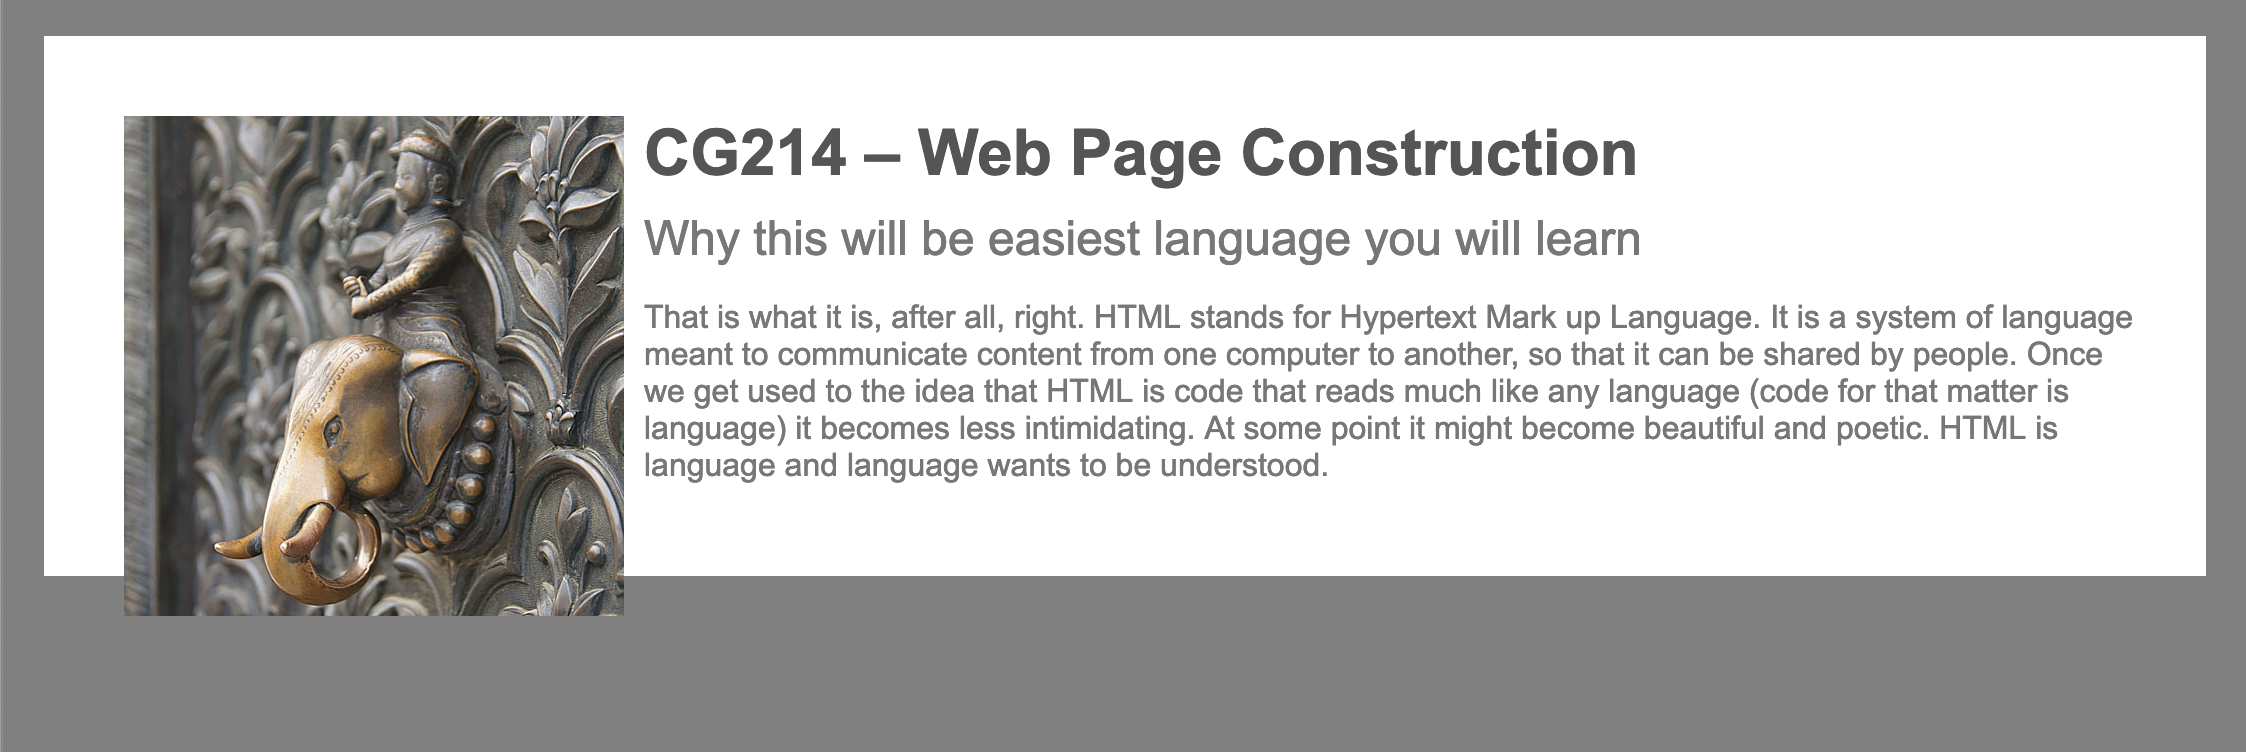
If you were able to complete the steps in class, your document should look something like this screenshot shown below – of course, with your text and image.
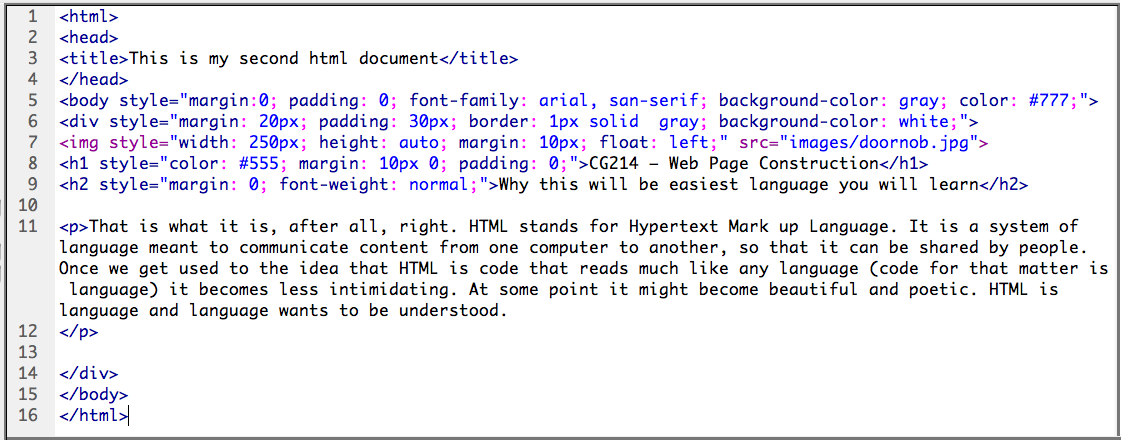
Your code should look fairly close to this screenshot shown below, with your content in place.
Make a few color modifications.
Add an in-tag attribute to your div tag “display:inline-block”. This attribute helps dividers holding both text and images. It ensures the divider grows just enough to fit the content added within.